Learn to Use Your Easy-Wrap Carrier Tutorial – Moby Wrap

LEARN TO USE YOUR MOBY:

Mastering MOBY Easy-Wrap: Wrapping Guide

Practice early, practice often.

Getting Started

Putting On Your Easy-Wrap​

PRO TIP — Practice in Front of a Mirror:

Before venturing out, get comfortable using your wrap at home. Practicing in front of a mirror is a great way to gain confidence and master your technique.

​Thread sash ends loosely through the sash guide on the ​back panel.​
Preparing Your Easy-Wrap​
​Thread sash ends loosely through the sash guide on the ​back panel.​
Slip Easy-Wrap over your head like a T-shirt.​
Slip Wrap Over Your Head​
Slip Easy-Wrap over your head like a T-shirt.​
Fasten buckles. Adjust fit by pulling both straps forward. Waistband should feel snug against body.​
Fasten Buckles​
Fasten buckles. Adjust fit by pulling both straps forward. Waistband should feel snug against body.​
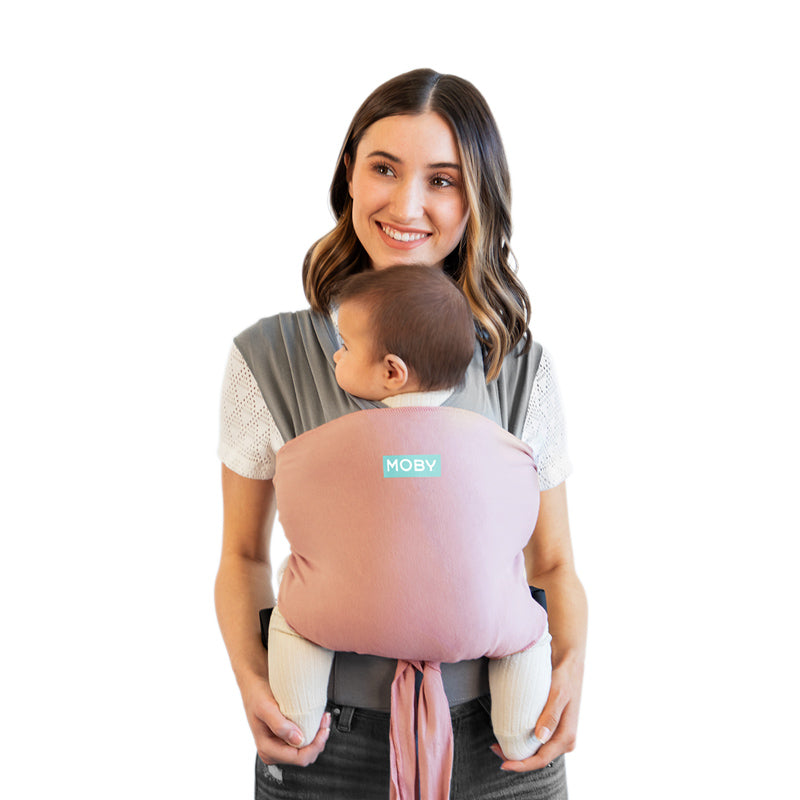
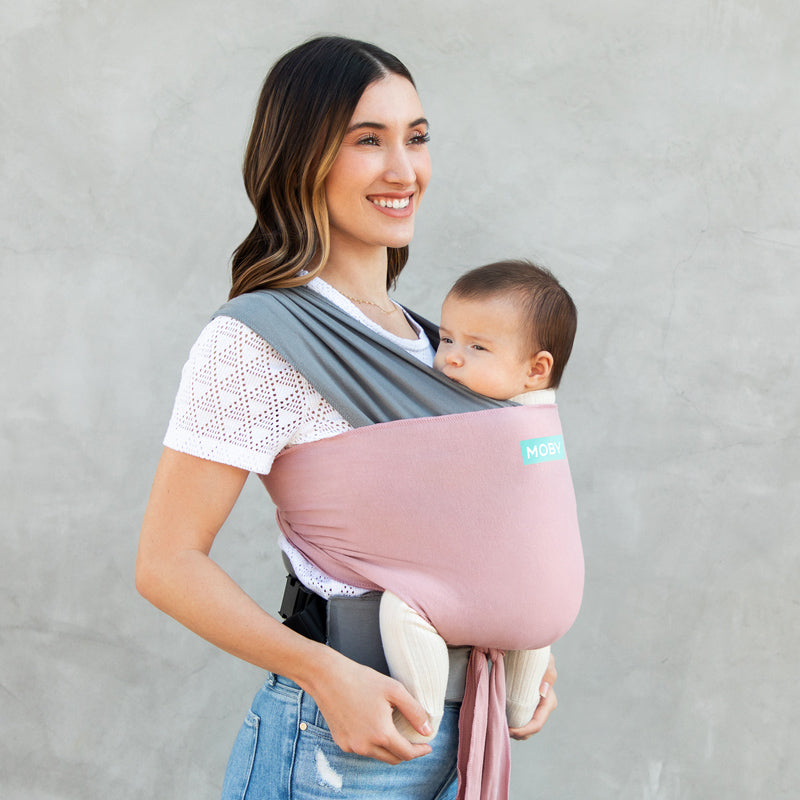
With the buckles fastened and waistband adjusted, your Easy-Wrap is now ready for baby!​
Carrier Is Ready for Baby​
With the buckles fastened and waistband adjusted, your Easy-Wrap is now ready for baby!​

Placing Baby In The Easy-Wrap​

PRO TIP — Size Up on Footed Pajamas:

Opt for dressing baby in footed clothing at least one size up to avoid constricting baby's toes while in the wrap, ensuring their comfort during wear.

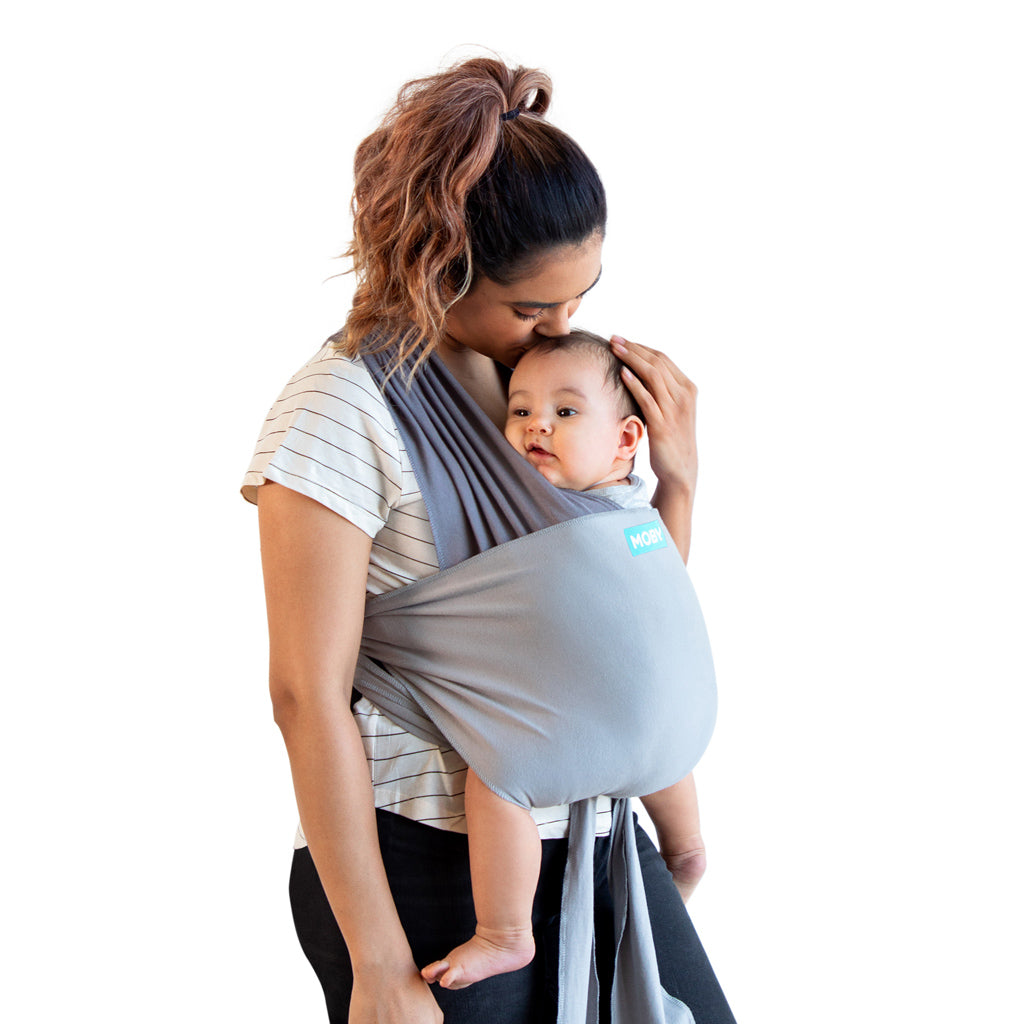
Bring baby to your chest in a burping position.​
Bring Baby to Your Chest​
Bring baby to your chest in a burping position.​
First, guide baby's leg through the inner panel closest to your body. Spread the fabric across the baby's entire back and bottom.​ Repeat on the other side.
Guide Baby's Legs Through Panels​
First, guide baby's leg through the inner panel closest to your body. Spread the fabric across the baby's entire back and bottom.​
Repeat on the other side.
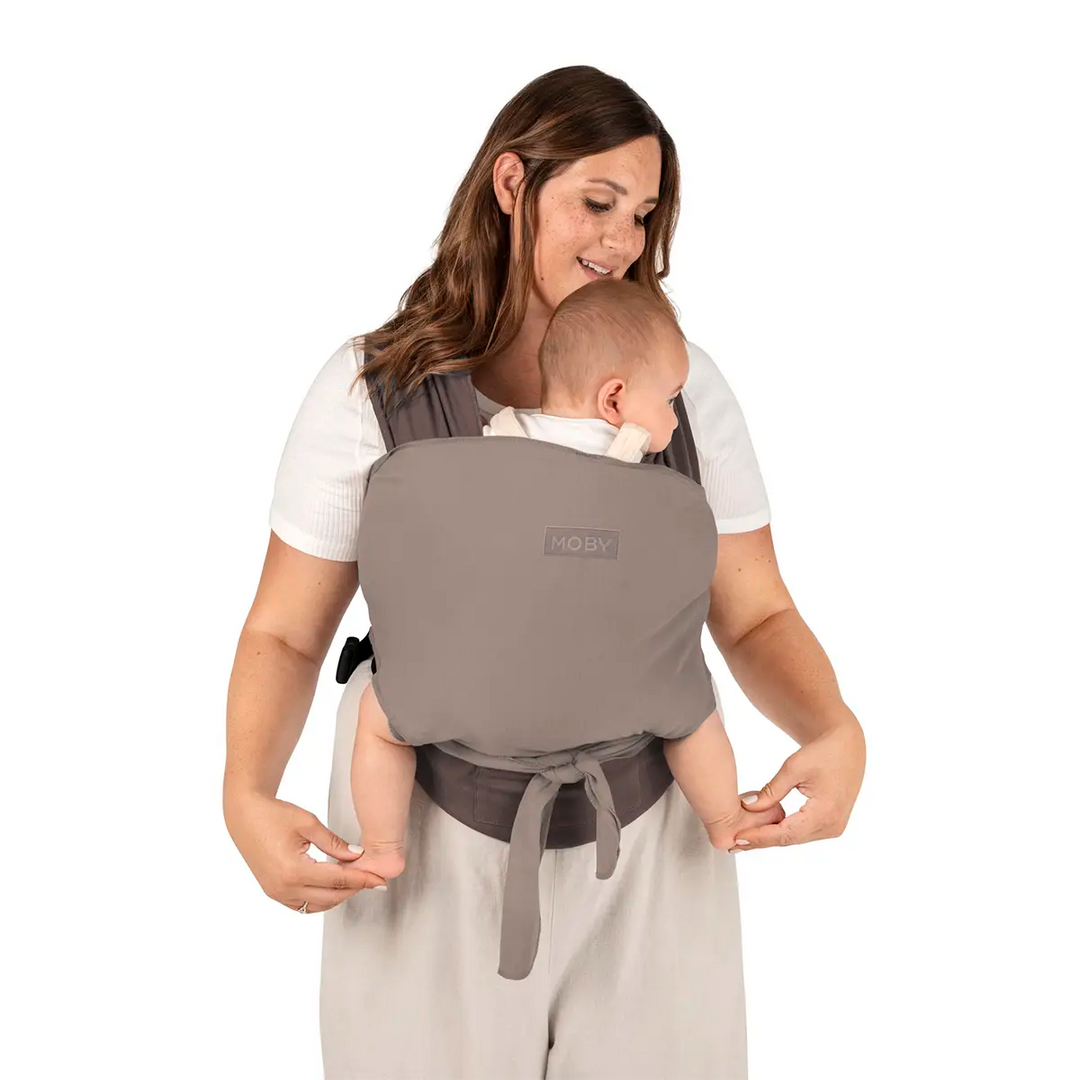
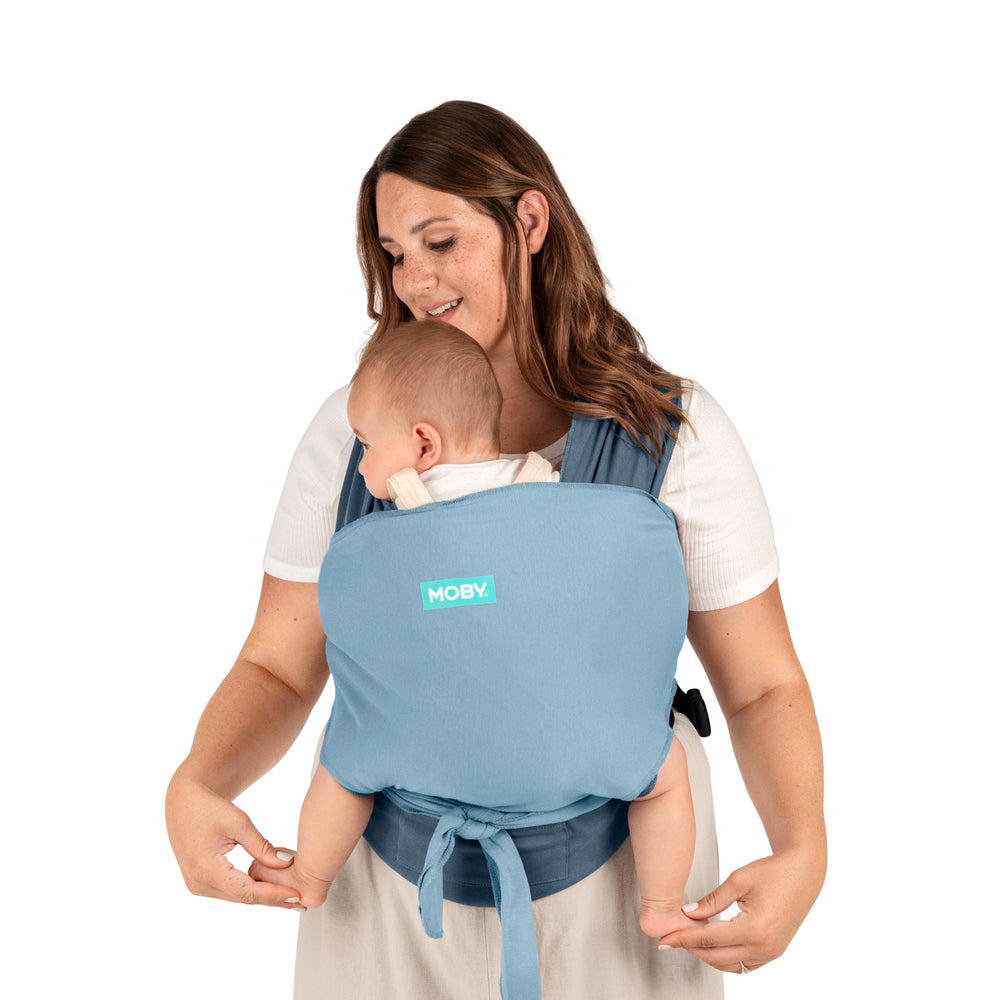
Ensure the panels fabric is stretched from knee-to-knee to support baby in an ergonomic position.
Knee-to-Knee​
Ensure the panels fabric is stretched from knee-to-knee to support baby in an ergonomic position.
Bring the sash up the baby's back to shoulder height.​
Sash Placement​
Bring the sash up the baby's back to shoulder height.​
Tighten your sash by pulling both ends forward until the baby feels snug against your body.​
Tighten Sash​
Tighten your sash by pulling both ends forward until the baby feels snug against your body.​
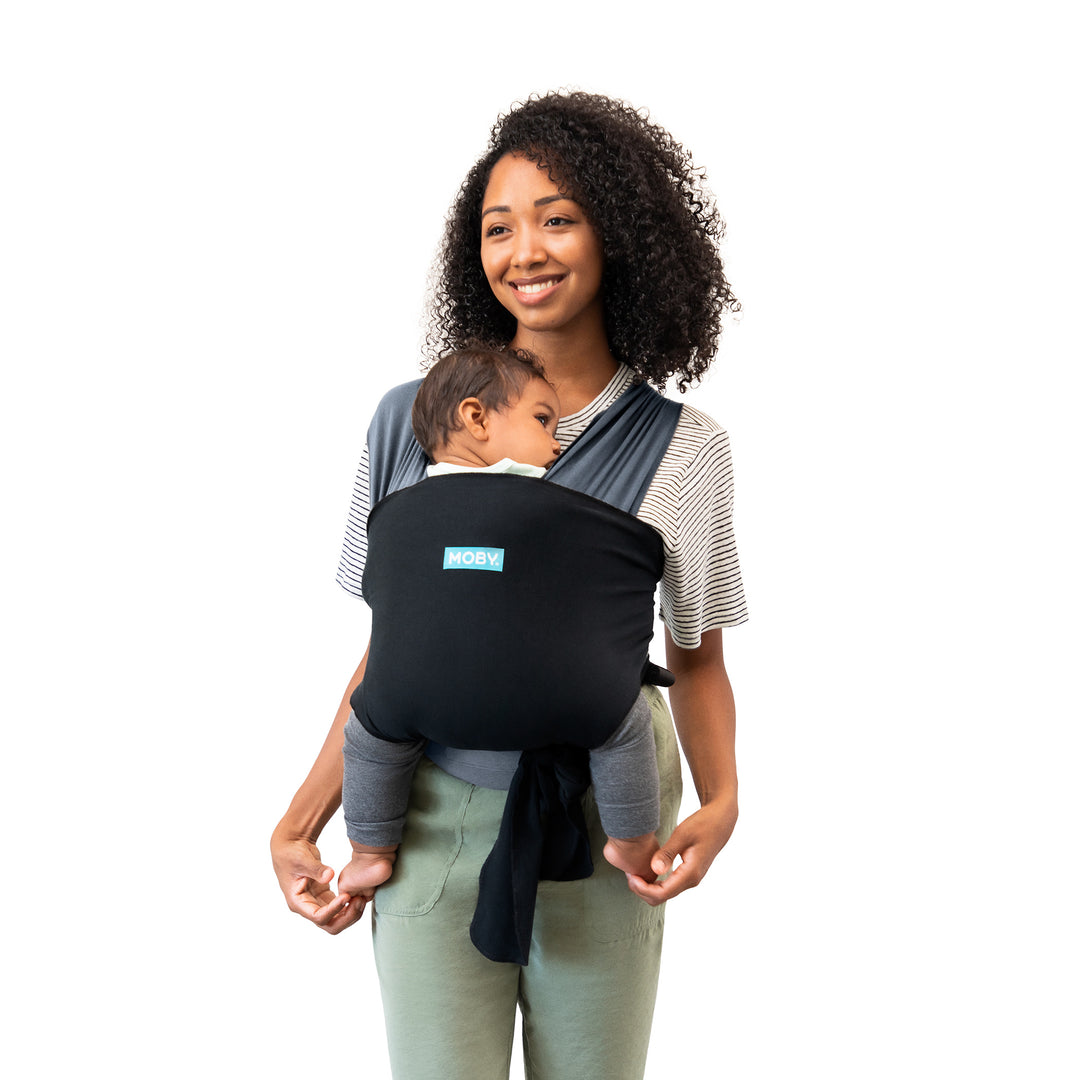
Placing the ends of your sash under the baby's legs, tie with a double knot to secure hold.​ Note: Sash can be safely tied in the front or back with a double knot.​
Secure Sash With Double Knot​
Placing the ends of your sash under the baby's legs, tie with a double knot to secure hold.​
Note: Sash can be safely tied in the front or back with a double knot.​

Easy as 1-2-3!

mom putting over easy wrap in charcoal black

SLIP ON

mom putting buckle on of the easy wrap in charcoal black

BUCKLE & SECURE

mom holding fabric of easy wrap in charcoal black

LIFT & TIE

Learn to Use Your Easy-Wrap Carrier Tutorial